
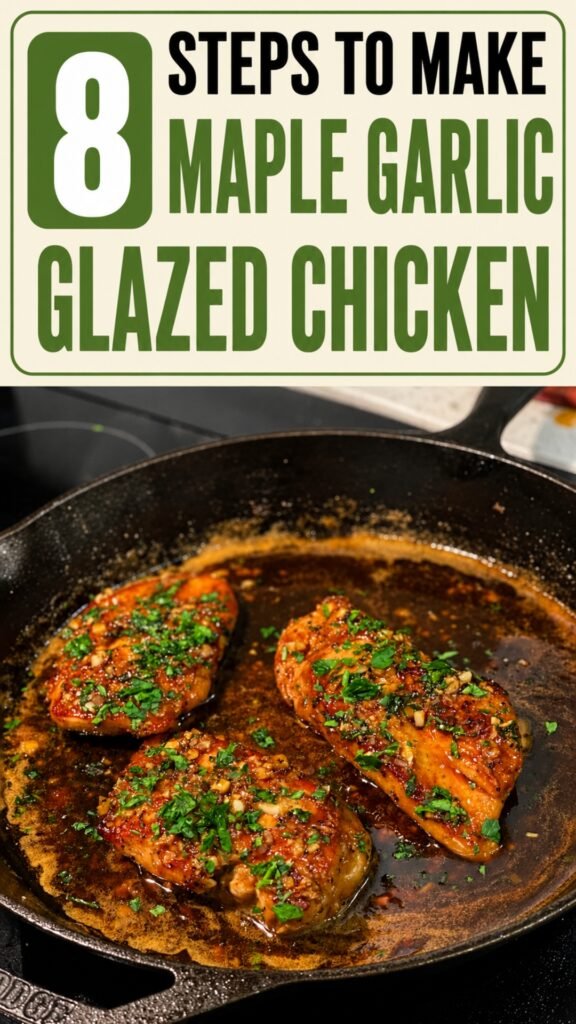
I have a habit of buying maple syrup for pancakes and then forgetting about the bottle sitting in the refrigerator for the next few weeks.
This recipe gave that bottle a much better job.
The first thing I love about this Maple Garlic Glazed Chicken is how something this simple can look like you’ve put considerably more effort into dinner than you actually have.
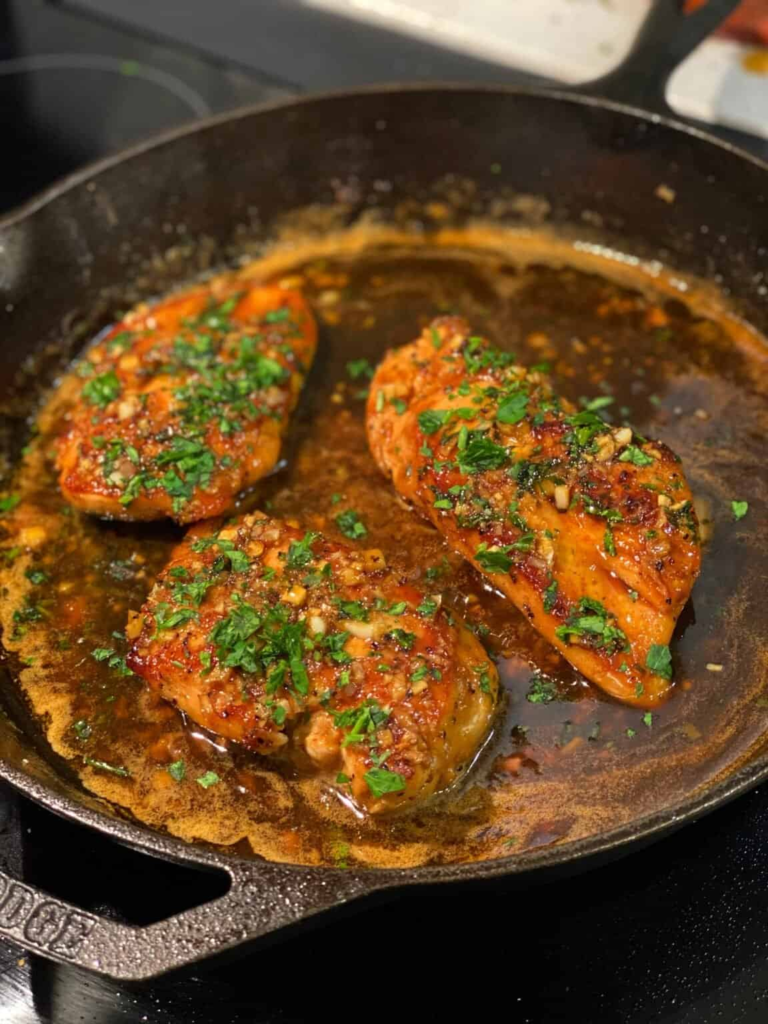
You start with chicken breasts, give them a good sear, add plenty of fresh garlic, and then pour maple syrup and soy sauce straight into the pan. A few minutes later, that mixture turns into this dark, sticky, sweet-and-savory glaze that coats every piece of chicken.
And the little cuts scored into the chicken?
They catch some of that glaze too.
That’s probably my favorite part.
The whole dinner takes around 20 minutes, which means it’s exactly the sort of recipe I want on a night when I’m hungry now—not an hour and a half from now.
It’s sweet without feeling like dessert, savory from the soy sauce, buttery, garlicky, and ridiculously good spooned over rice.
Just one warning:
Once that maple-garlic sauce starts thickening in the skillet, you’re going to want to keep spooning it over the chicken.
That’s not really a problem.
That’s basically the recipe.
What You’ll Need
One of the best things about this recipe is that you don’t need a cart full of ingredients.
You’ll need:
- 4 boneless chicken breasts
- 1 teaspoon kosher salt
- 1 teaspoon black pepper
- 1 teaspoon garlic powder
- 1 teaspoon paprika
- 2 tablespoons olive oil
- 4 tablespoons butter, divided
- 3–4 garlic cloves, minced
- ½ cup maple syrup
- 2 tablespoons soy sauce
- 2 tablespoons fresh parsley, chopped
And that’s the entire recipe.
No complicated marinade.
No overnight waiting.
No fifteen-spice seasoning blend that requires reorganizing your pantry.
Just chicken and a seriously good maple-garlic glaze.
8 Steps to Make Maple Garlic Glazed Chicken
The original recipe card breaks the process into several short instructions. For cooking at home, I’ve grouped those same actions into 8 easy steps without changing the method.
Step 1: Heat the Skillet
Add 2 tablespoons olive oil and 2 tablespoons of the butter to a cast-iron skillet.
Heat the pan so the butter melts and the skillet is ready for the chicken.
We’re saving the other two tablespoons of butter for later.
That detail matters.
Step 2: Score the Chicken
Before seasoning the chicken breasts, use a sharp knife to make shallow scores across the surface.
Don’t cut all the way through.
You’re simply creating little crevices in the chicken.
The source specifically recommends scoring because it gives that maple-garlic sauce somewhere to settle instead of just sitting on top.
And considering the sauce is the best part, giving it more places to go seems like a very reasonable decision.
Step 3: Season the Chicken
Season both sides of the chicken breasts with:
- 1 teaspoon kosher salt
- 1 teaspoon black pepper
- 1 teaspoon garlic powder
- 1 teaspoon paprika
Try to distribute the seasoning evenly across all four chicken breasts.
The paprika helps with color while the garlic powder gives us another layer of garlic flavor before the fresh garlic even enters the pan.
There is absolutely no garlic shortage happening here.
Step 4: Brown the Chicken
Place the seasoned chicken breasts into the hot skillet.
Let them brown nicely on one side before turning them over and browning the other.
You want real color here.
Don’t move the chicken around every fifteen seconds wondering if something is happening underneath.
Give the pan time to do its job.
The important thing is that we’re not waiting until the chicken is completely cooked before moving on to the sauce.
The source recommends starting the maple-garlic sauce while the chicken is still finishing so the glaze has time to thicken without overcooking the meat.
Step 5: Add the Remaining Butter and Fresh Garlic
Once the chicken is almost fully cooked, add the remaining:
2 tablespoons butter
and
3–4 minced garlic cloves.
Let everything cook together for a few minutes.
The butter melts into the skillet while the fresh garlic becomes fragrant and starts flavoring everything around the chicken.
This is also the point where anyone walking through the kitchen suddenly becomes very interested in what you’re making.
Step 6: Add the Maple Syrup and Soy Sauce
Pour in:
½ cup maple syrup
and
2 tablespoons soy sauce.
Let the sauce cook around the chicken.
The maple syrup brings sweetness while the soy sauce adds the salty, savory balance that keeps the glaze firmly in dinner territory.
And yes, we’re using actual maple syrup here.
The source recommends choosing a good-quality maple syrup, preferably one that’s natural and minimally processed.
Step 7: Let the Glaze Thicken and Baste the Chicken
Now let that maple-soy mixture cook down.
As it heats, it will begin turning thicker and glossier.
Use a spoon to repeatedly scoop the sauce from the skillet and pour it over the chicken as it cooks.
This is where those little scored sections become useful.
The glaze gets into the crevices and coats the surface instead of simply pooling underneath.
Keep cooking and spooning the sauce over the chicken until the meat is fully cooked and the glaze has thickened.
If there’s a step where standing next to the skillet and repeatedly spooning sauce over dinner feels unusually satisfying, this is it.
Step 8: Finish With Fresh Parsley and Serve
Once the chicken is completely cooked and coated in that thick maple-garlic glaze, remove the skillet from the heat.
Sprinkle over:
2 tablespoons chopped fresh parsley.
And you’re done.
Twenty-minute chicken dinner accomplished.
Spoon some of that extra glaze from the skillet over each chicken breast before serving.
Leaving good sauce behind in the pan would be tragic.
You Can Also Try This Way: